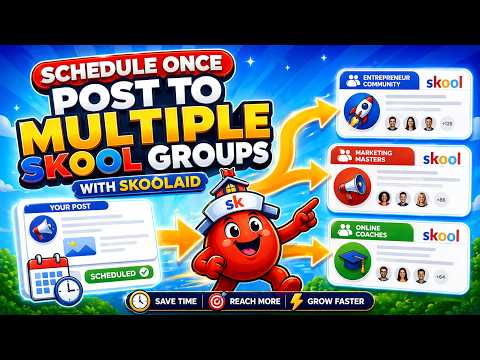
How to Schedule Posts in Multiple Skool Communities at Once with SkoolAid
Scheduling posts across multiple Skool communities can be challenging. However, with SkoolAid, you can simplify the process. Here’s how to do it effectively.
Step-by-Step Guide
Step 1: Access SkoolAid
- Open your web browser and go to the SkoolAid website.
- Log in to your account or create a new one if you haven’t already.
Step 2: Choose Your Communities
- Once logged in, navigate to the dashboard.
- Select the communities where you want to schedule your posts.
Step 3: Create Your Post
- Click on the “Create Post” button.
- Enter your content, making sure to format it as desired.
- Add any links, images, or media as needed.
Step 4: Schedule the Post
- Look for the scheduling options.
- Select the date and time you want your post to go live.
- Confirm your settings.
Step 5: Repeat for Other Communities
- If you’re scheduling posts for multiple communities, repeat steps 2 to 4 for each one.
- Double-check each post for accuracy.
Step 6: Monitor and Adjust
- After your posts are scheduled, keep an eye on their performance.
- Make adjustments as needed for future posts.
Conclusion
With SkoolAid, scheduling posts in multiple Skool communities becomes a seamless process. Follow these steps to ensure your content reaches your audience at the right time!
For more information and tips, visit the SkoolAid website.